
How to create MSMQs in your Windows 10 local development machine (2 ways)!
Some point in your development career, you’d stumble upon an application which requires MSMQs (Microsoft Messaging Queues). Here’s how to create MSMQs in your local development machine.
Enable Microsoft Message Queueing Feature
Microsoft Message Queuing feature is disabled by default, you need to enable it.
-
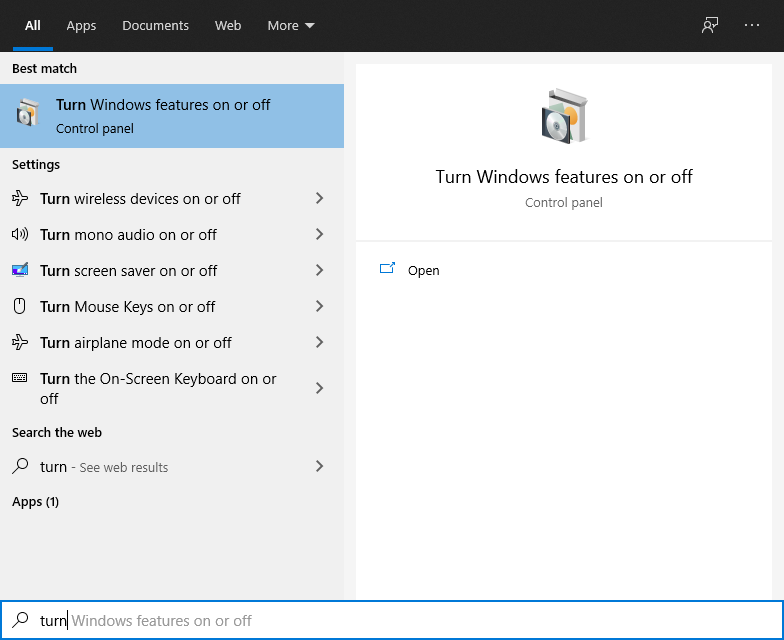
Search Turn Windows features on or off
-
Enable Microsoft Message Queue (MSMQ) Server
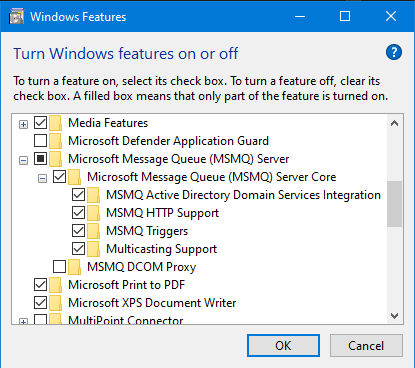
This will search for some files in Windows Update and enable this feature.
Create an MSMQ using UI
-
Search Computer Management

-
Scroll down to Services and Applications-> Message Queuing
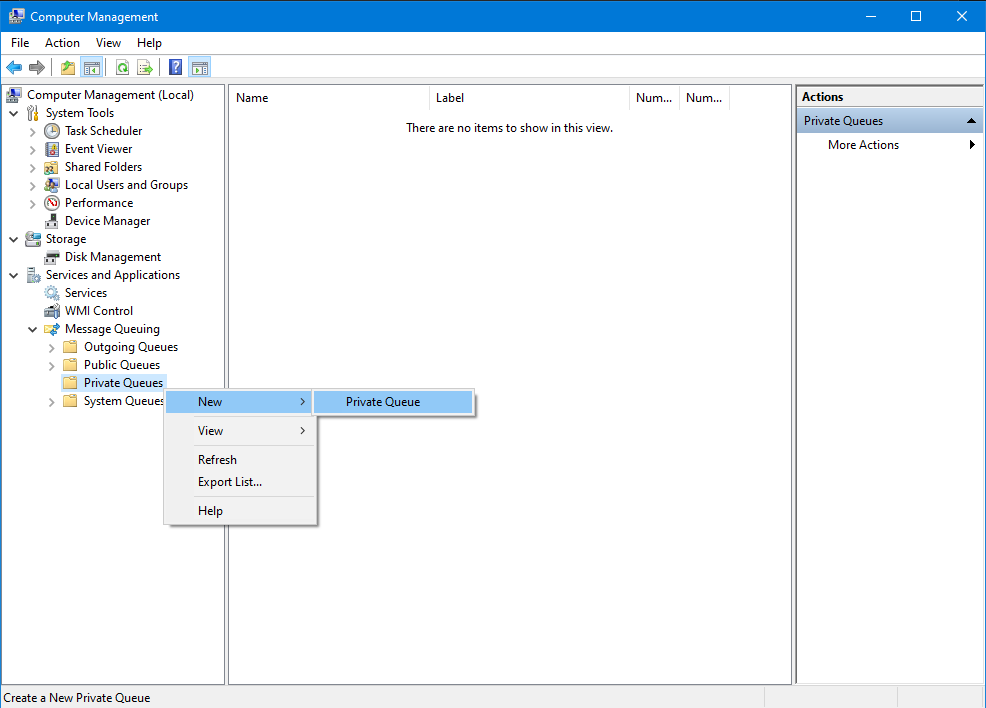
- Right Click either on Private Queues or Public Queues-> Private Queue
-
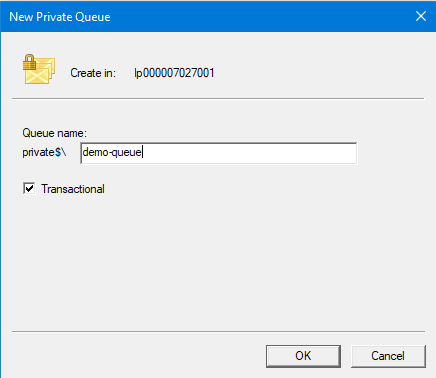
Give the MSMSQ a name. Check Transactional, if you want to create a Transactional Queue.
-
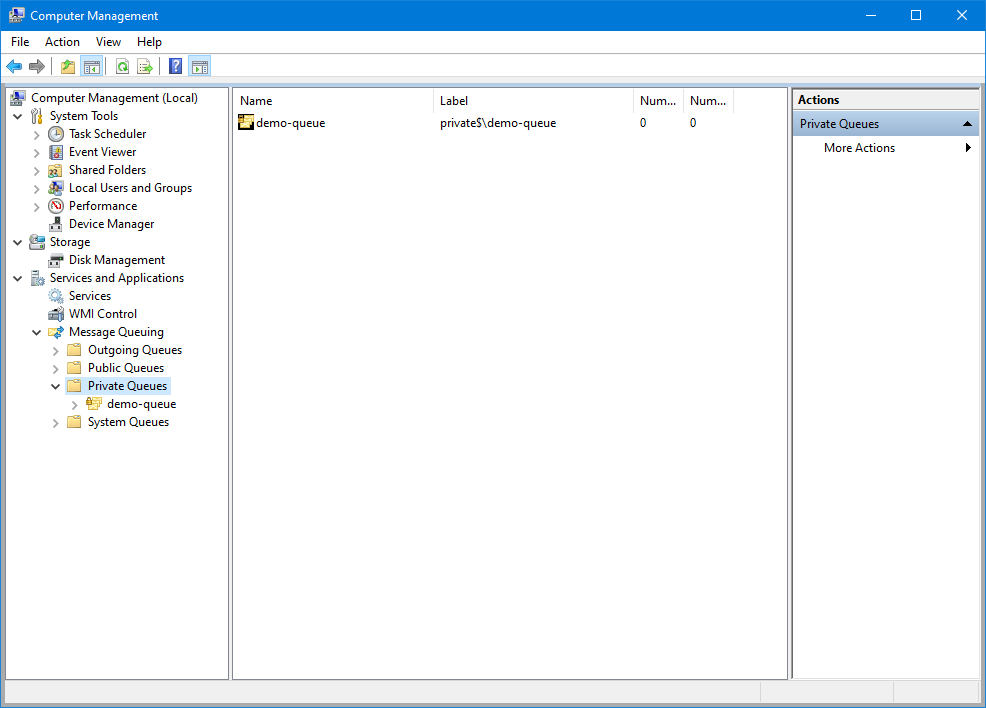
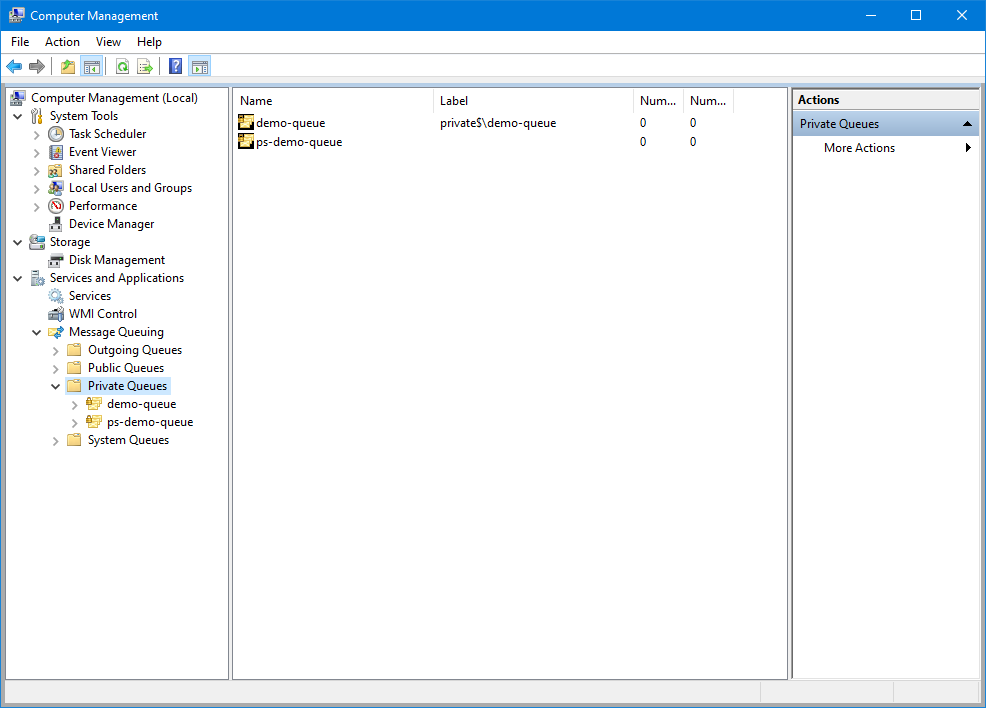
Newly created MSMQ will be listed.
Create an MSMQ using PowerShell
-
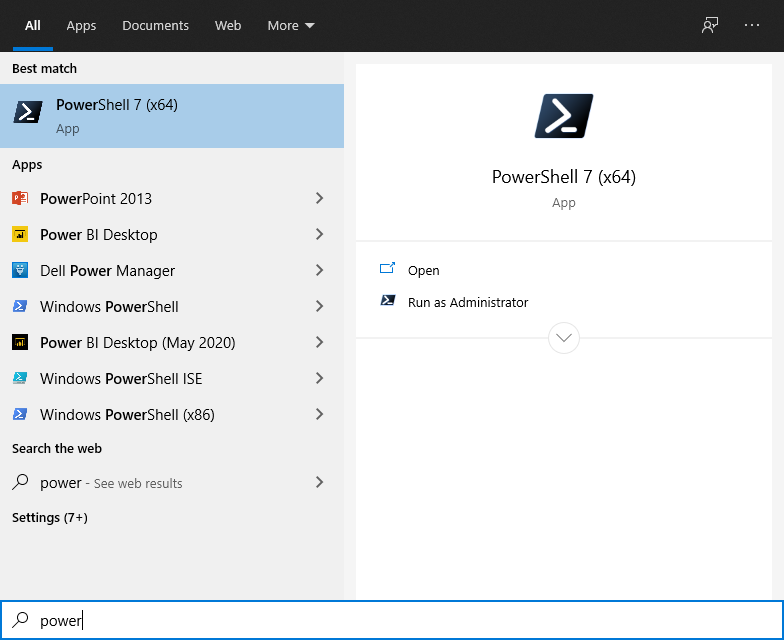
Search PowerShell
-
Type following command
New-MsmqQueue -Name ps-demo-queue -QueueType Private -Transactional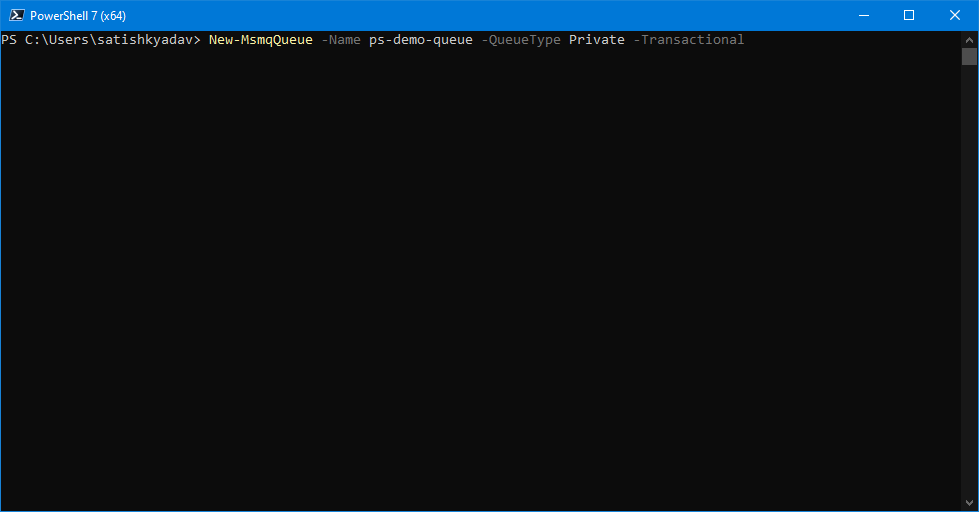
-
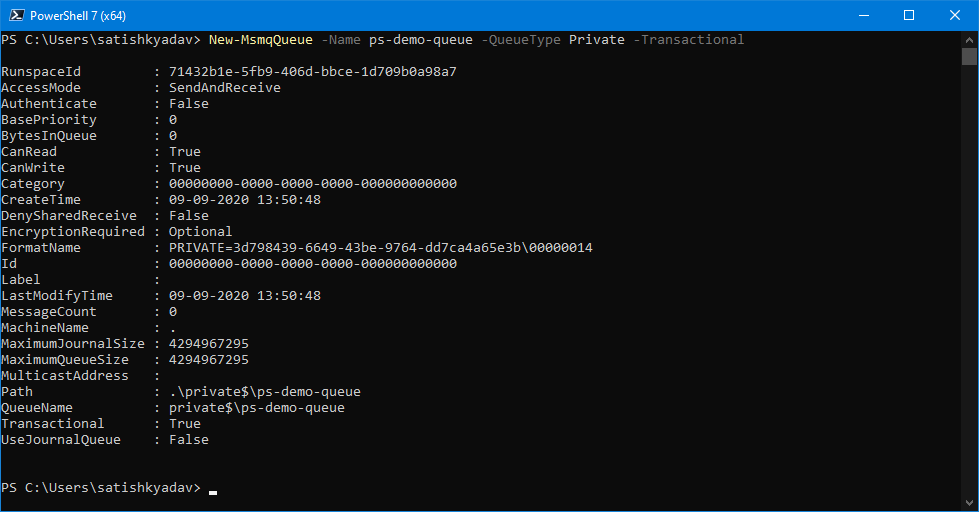
You should see output something like this:
-
You can verify the MSMQ created
That’s it! Now you know 2 ways to create an MSMQ.
Happy Coding!